The post 4 Essential Things to Consider When Styling a Photoshoot appeared first on Digital Photography School. It was authored by Lily Sawyer.
A successful photoshoot doesn’t just happen by itself. Perhaps there are times when everything lines up and an impromptu photoshoot happens. But that is often the exception. From my experience, much planning goes into a successful photoshoot. Whether you are doing a family, newborn, or portrait shoot, formal, informal, indoor or outdoors, styled or casual shoots, there are common factors that are crucial to its success. Here are some essential things to consider when styling a photoshoot.
1. Location
Location dictates equipment
Deciding on your location beforehand is necessary as that dictates the equipment you’ll need. If shooting in a studio, you need to think of the lenses you would use for the amount of space available in your studio. If you have a small studio, you may only be able to use a 35mm or a 50mm lens for portraits. A 24-70mm would be ideal for a small space, but you need to consider any distortions if you’re shooting portraits at close range using a short focal length.
If you are relying on natural light indoors, then you would need to think of the time of day you are shooting and the available ambient and natural light at those time to give you ample light that you need for your shoot. It would also be a good idea to have a reflector handy for both shoot, but most especially for indoor shoots. Their are various types of reflectors, that create different effects.
Backdrops
Another thing to consider when shooting indoors is your background or backdrop. If it’s in a client’s home, you may need to ask them for photos of an idea of walls, windows, possible backdrops you can use if you haven’t been there before. If shooting in your own home or studio, then you have more control and can prepare the space beforehand. You can go for a light or dark backdrop, fabric or walls, wallpaper or painting, or just the available surfaces in the home. You may need to declutter a bit so unnecessary objects are in the shot.
Weather – Plan B
If shooting outdoors, you need a plan B in case the weather doesn’t cooperate on the day. A plan B could be a cafe nearby or a sheltered area such as a gazebo. Generally, when shooting outdoors during the day, the opposite problem occurs. There is often too much light. The first thing to decide on is the time of day to shoot. Will it be golden hour? Middle of the day? Early morning? Dusk? Evening? Understand the needs for these different times of the day.
Best times of day to shoot
Early and late and golden hour are great times to shoot because the light comes from an angle. Golden hour gives a nice warm glow to your images but light during early morning shoots are often quite cold. Midday light, when the sun is high up in the sky, gives harsh light. You need to mitigate this by using reflectors, so you don’t get dark shadows under the eyes. They can be a natural reflector like concrete paths, white walls, floors or the usual photography reflectors available.
Urban or country? Each has a very different vibe. If shooting in a busy city location where you have to walk around and have nowhere to park, you may need to pare down your equipment. If going to the country, then you can fill your car with equipment and props to your heart’s content and make a shoot logistically easier.
If shooting with artificial light either indoors or outdoors, you have more control over the amount of light available for your shoot and natural lighting is not so much a factor. However, this would require more equipment such as light stands, softboxes, electronic flashes, triggers and receivers, batteries, and diffusers.
You can read more about equipment you would need for a home or portable studio here.
2. Overall colour scheme
Details matter when it comes to the outcome. For an image to be pleasing and successful, it involves more than just lighting. It involves tones and color schemes. When planning your shoot, it may help to think of a theme like vintage, bold, contemporary, simple, maximal or busy. Also think of a seasonal feeling; summer, spring, autumnal, or winter. Considering these things helps you eliminate ideas that won’t be fitting and narrows them down to a few essentials.
You can then decide on the colors. Winter would call for cool white, grey and blue tones and you may decide on a pop of color. Spring may have a combination of pastel colors with dominant greens. Summer may be bursting with saturation and light, blue skies, and warmth. Autumn can have burnt orange, red, purples and verdant greens.
Feeling your shoot while mentally preparing for it helps in streamlining everything to achieve the desired outcome. You could go for a rainbow shoot where you want the colors to pop against a plain white or dark backdrop.
3. Props
Props are optional, but they are useful. My preference is minimal props, but I would suggest having them as tools during the shoot rather than items to be necessary in the shoot. Let me explain.
If I am photographing young children, I would often ask the parents to bring a bag of favorite toys without the knowledge of their children. During the shoot, I may need to use them to entertain, comfort, use during breaks and even to make them look at the camera. However, only one of those may make it into the shot, usually a soft comfort toy.
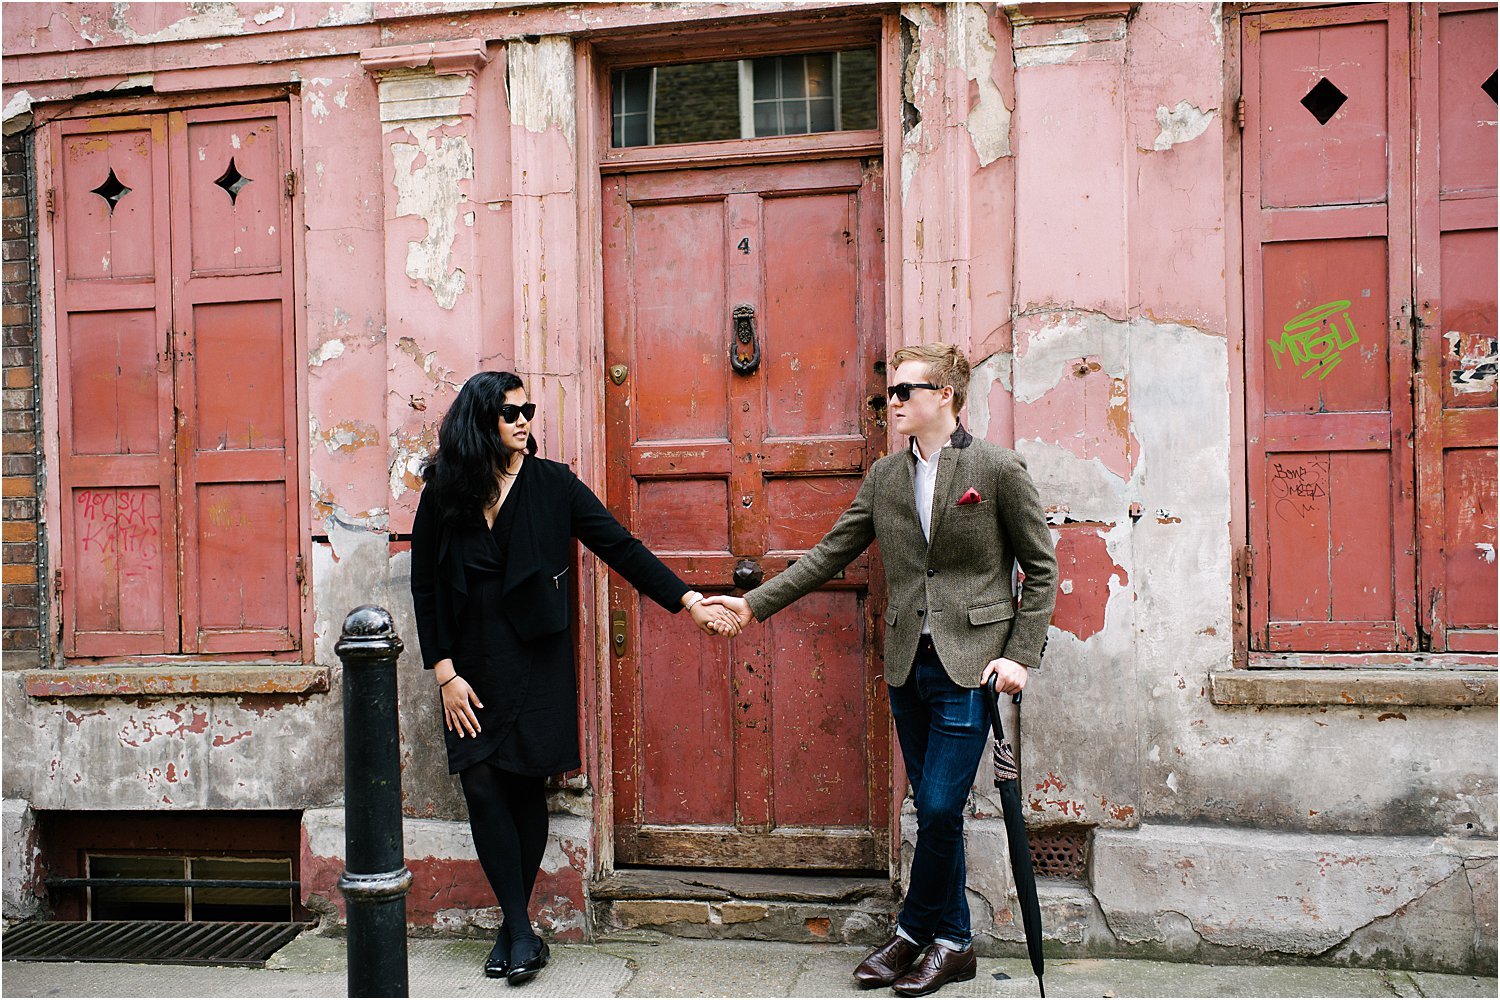
For engagement shoots, I’d ask the couple to choose one or two props they want to be in the shot but that these props must mean something to them. We’ve had picnic baskets, bikes, guitars, books and flowers amongst others. Sometimes, couples can’t think of props or don’t want any, and that is fine too. Often I’d say pick up a bunch of flowers just in case. Many couples, especially those who haven’t had a photoshoot yet may feel awkward and holding something like flowers helps.
A piece of outfit or accessory can be used as a prop too. A hat, bag or a special pair of shoes can work. This leads us nicely to the next factor…
4. Outfits
Even when you have your lighting and location all planned perfectly, sometimes your photoshoot can still get ruined. Okay, ruined may be a bit too harsh but there is still one thing that can make or break your shoot – It’s the outfit.
I give my clients a guide on what to wear before their photoshoot in the hope that they plan their outfits beforehand and, even better, share them with me so we can discuss them. Often they send me options to choose from, and together we agree on one or two final outfits.
I once had a couple whose location was in the most beautiful country setting – it was a totally dreamy scene. Unfortunately, their outfits were not in keeping with the location. Although they were happy with the images and the shots were beautiful, their shoot could potentially have been published in many places but were let down by the outfits.
Encourage your clients to treat the photoshoot as a special event that they plan and prepare for. If they can afford it, even buy new clothes for the shoot. With regards to matching outfits, like all white shorts and jeans, that’s down to personal preference. Mine is more towards classic complementary colors and patterns than matching or uniform outfits. Discussing this with your client is important. The one big no-no I always tell my clients is to avoid big logos, cartoon characters, numbers or letters, or anything that is trend-based that dates quickly.
I hope the above has helped with styling a photoshoot and what you can prepare in advance to ensure its success. If you have any more ideas, do share them here in the comments below.
The post 4 Essential Things to Consider When Styling a Photoshoot appeared first on Digital Photography School. It was authored by Lily Sawyer.


Comments are disabled for this post.